

This article covers linking many users to SSO at once, using the SSO Link Wizard in iplicit. This is an administrator task, done from the user account list rather than an individual user record. For one user linking their own account, see 'How to link your account to SSO in iplicit?'. SSO must already be enabled for your environment before this will work – see 'Enabling SSO for iplicit login'.
The steps differ depending on your provider. Microsoft Entra ID links by matching email addresses directly. All other providers, including OneLogin, link using an uploaded CSV file. Follow the section that matches your provider.
Bulk-linking users with Microsoft Entra ID
Microsoft Entra ID doesn't need a CSV file. iplicit matches users by email address directly against your Entra directory.
- Go to User accounts
- Do not open an individual user account – stay on the main user account list
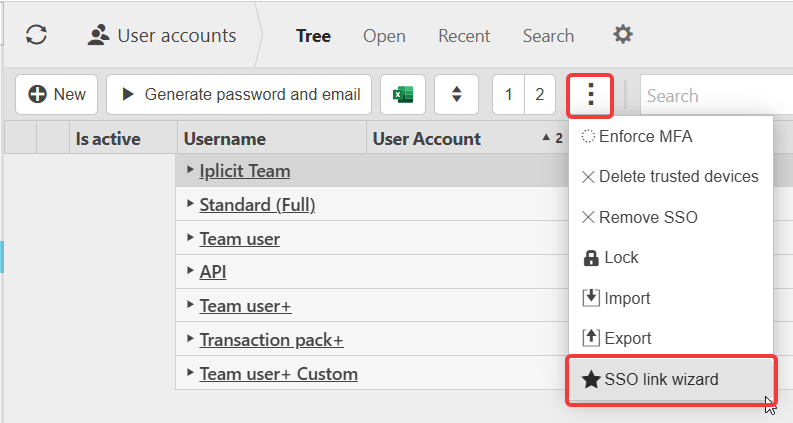
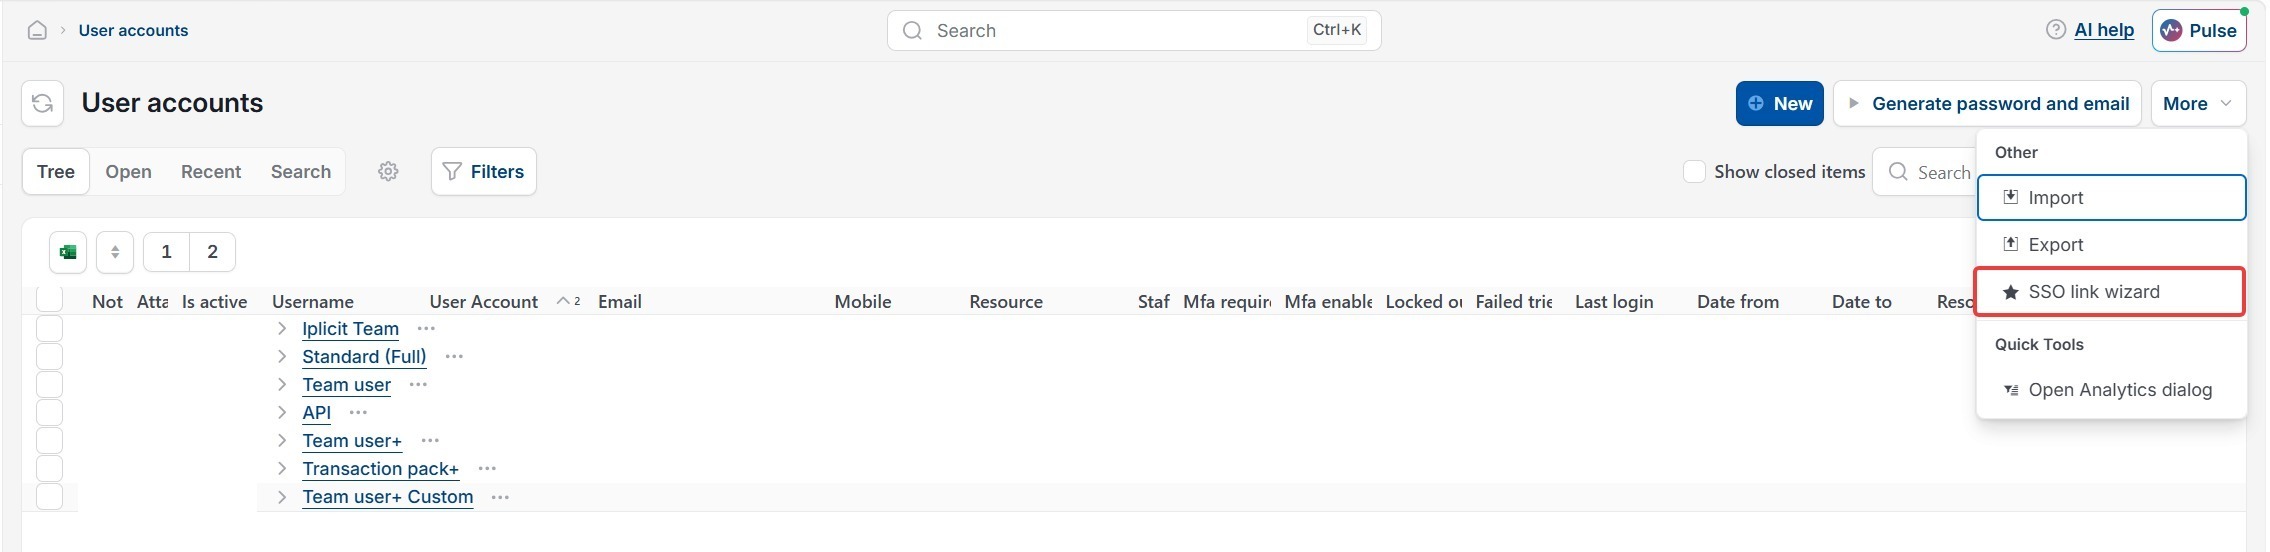
- Select the three dots or more button depending on your screen, then 'SSO Link Wizard'
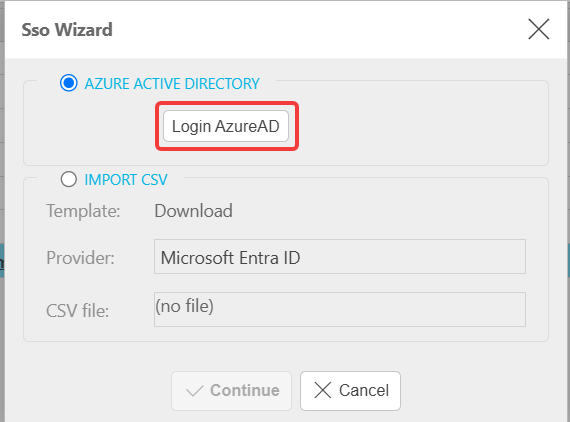
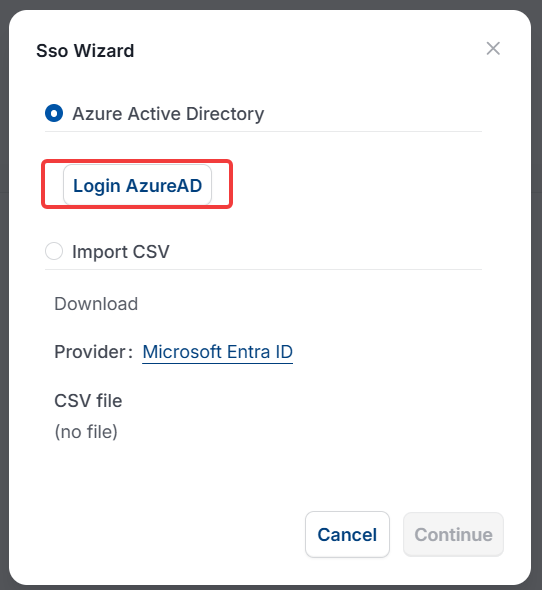
- Select 'Login AzureAD' and sign in with an Entra admin account
- Select 'Continue'
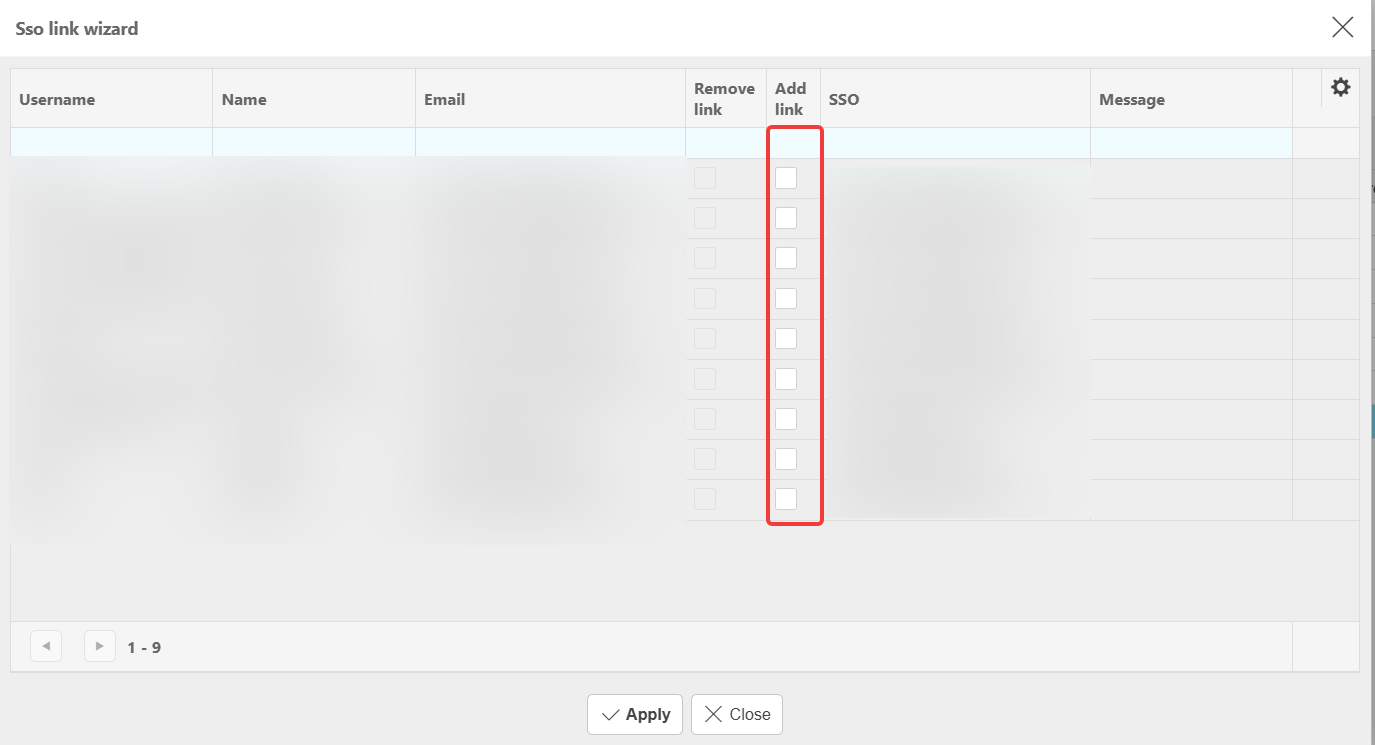
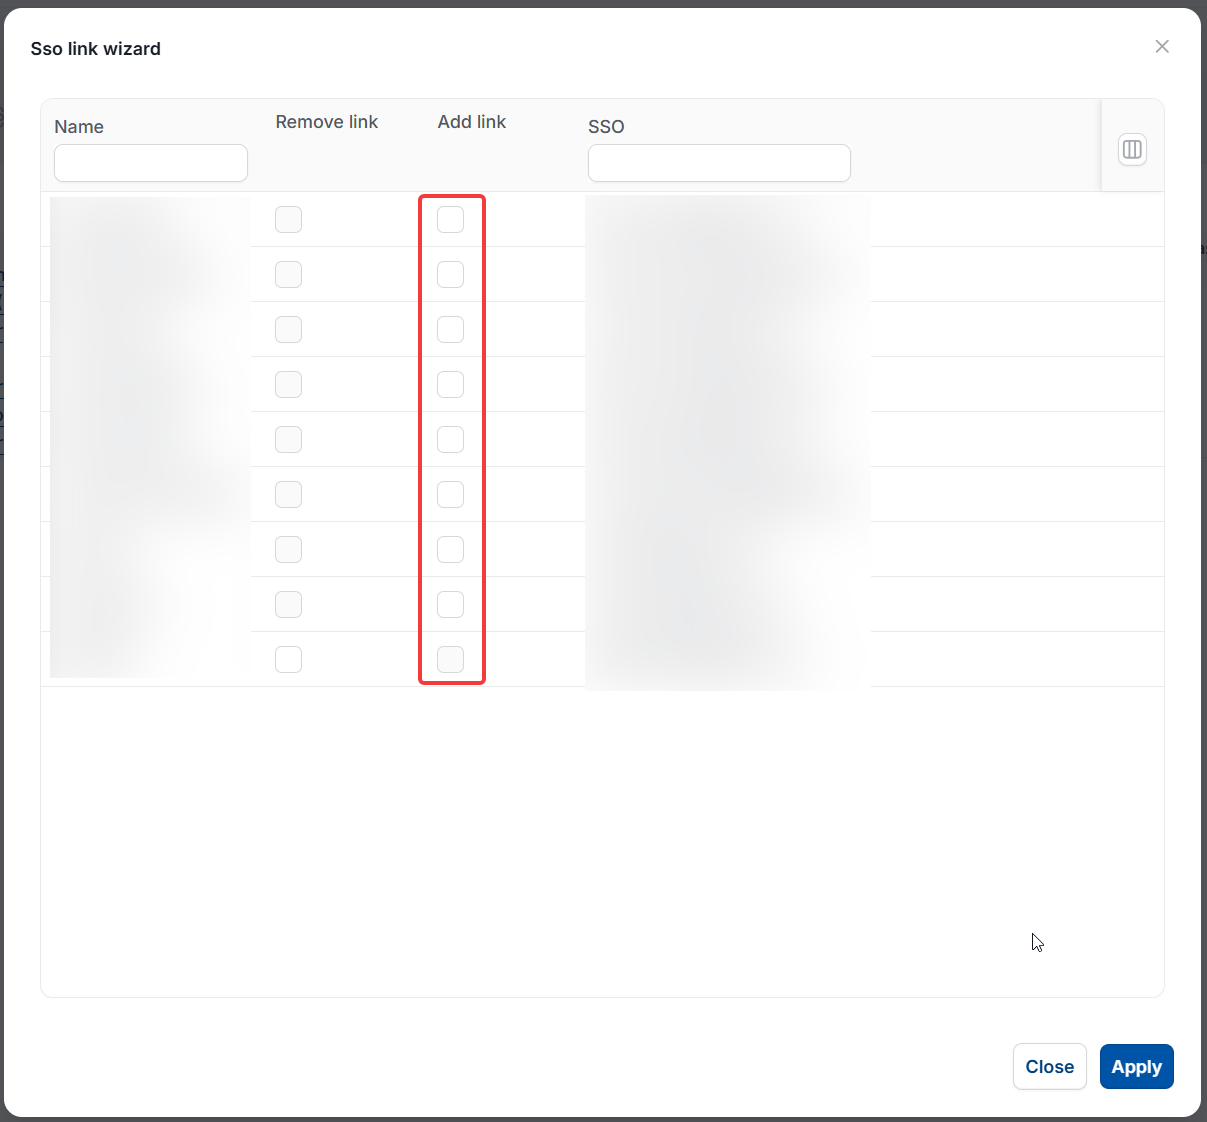
iplicit shows a list of users matched by email address between iplicit and Entra ID.
- Tick 'Add link' against each user you want to link
If a user is already linked, 'Remove Link' appears instead, letting you unlink them if needed.
- Select 'Apply' to complete the process
Bulk-linking users with other providers (CSV import)
For OneLogin and other non-Entra providers, bulk linking uses a CSV file with two columns:
- Column A: the email address linked to the user's iplicit login
- Column B: the Object ID for that user, provided by your SSO provider
Your SSO provider assigns a unique Object ID to each user – this isn't something set in iplicit. Ask your provider or your organisation's IT team for these values if you don't already have them.
To bulk-link using a CSV file:
- Populate the CSV template with the email address and Object ID for every user you want to link
- Go to User accounts
- Do not open an individual user account – stay on the main user account list
- Select the three dots (ellipsis) or more button depending on your screen, then 'SSO Link Wizard'
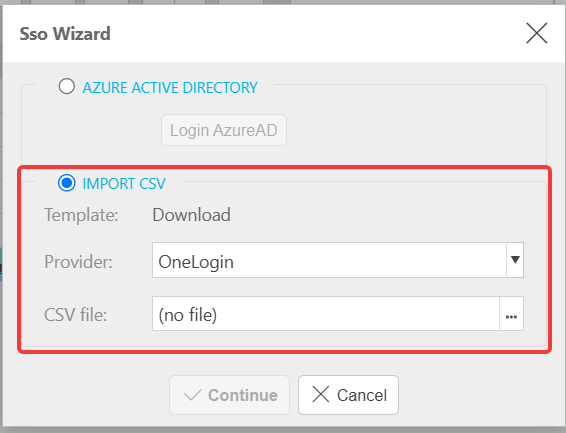
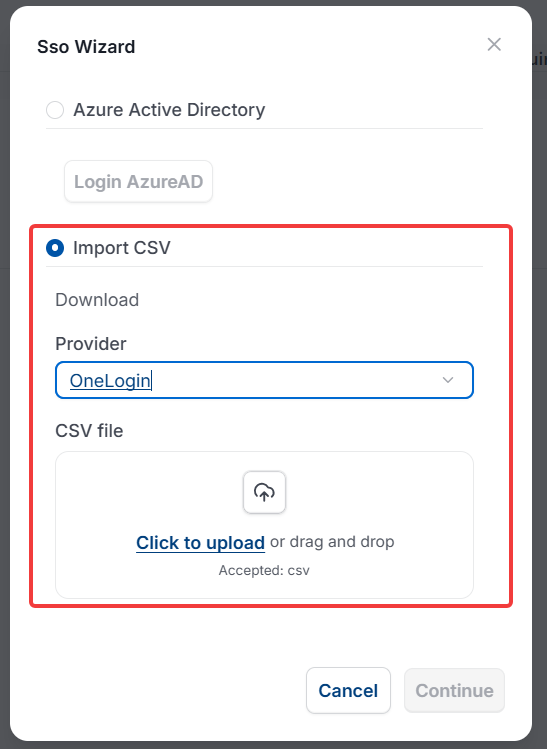
- Select 'Import CSV'
- Select your provider
- Select your completed CSV file, then 'Continue'
iplicit shows a screen listing each user from the file.
- Tick the checkbox against each user individually – there's no option to select all at once
- Select 'Apply' to complete the process
After linking
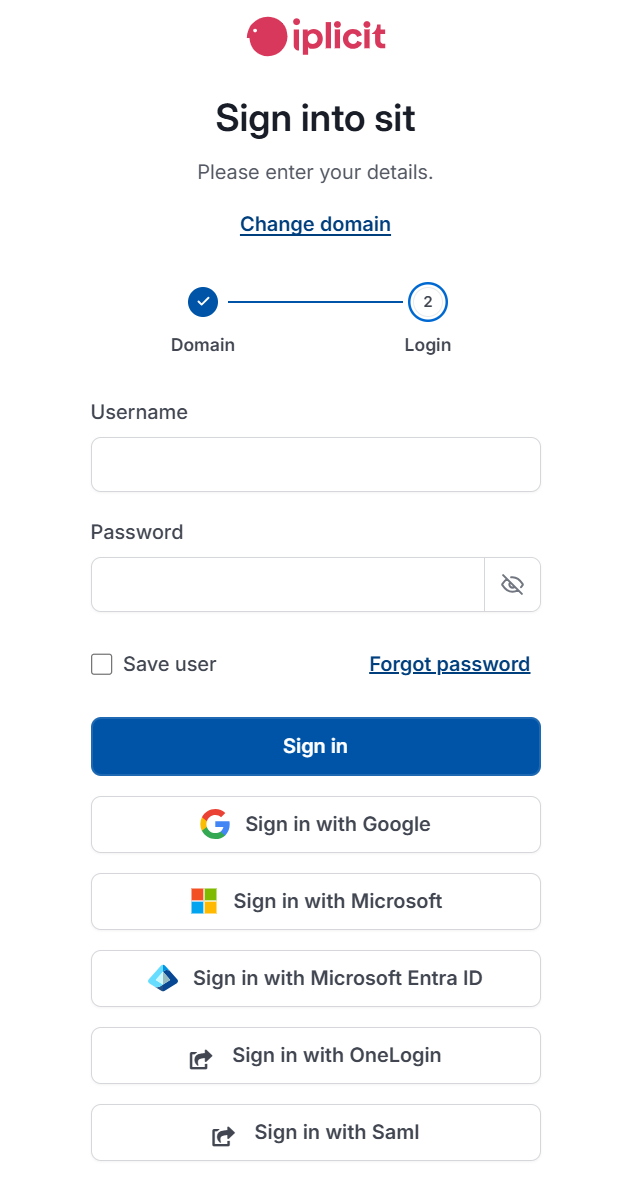
Once a user is linked and applied, they need to log out of their current session. The next time they log in, an SSO sign-in button appears for their provider, and they no longer need their username and password to access iplicit.
SSO Link Wizard
Bulk link SSO
Enable SSO in bulk
Import SSO users
SSO CSV import
Link multiple users SSO
Azure SSO bulk